Have you ever stood in a lighting showroom, fixture in hand, wondering exactly where it's supposed to land once it's hung above your table? If so, you're not alone. Hanging height is one of the most common questions the design team at InteriorDesignInfo.com fields from readers, and it's also one of the most common mistakes homeowners make when a fixture finally goes up. Hang it too low and you're ducking under it every time you reach for the salt. Hang it too high and it loses its warmth, its intimacy, its whole reason for being there.
Here's the good news - lighting height isn't a matter of taste, It's math, and it's the same math professional electricians and interior designers have used for decades. Below, you'll find the industry standard heights for every major fixture location in your home, along with the reasoning behind each number so you can adjust with confidence if your ceiling, table, or family happens to fall outside the average.
A quick note before you start measuring - these numbers are general guidelines that work in the vast majority of homes. They're not building code, so if your situation calls for an inch or two of adjustment, feel free to do whatever feels right to you in your home.
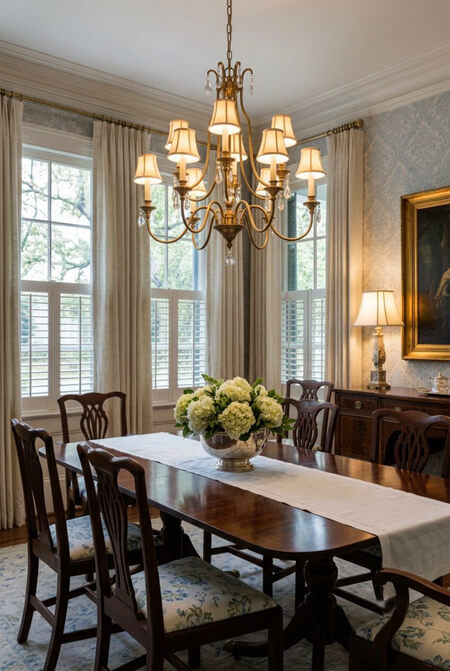 Dining table chandelier - AI-assisted image | Human-editedDining Table
When you're hanging a chandelier over a dining table, scale is everything. You're balancing two variables at once - the size of the fixture and the size of the table beneath it.
As a general guideline, the bottom of the chandelier should sit 30 to 36 inches above the tabletop. Assuming a standard 30-inch-high table, that puts the bottom of your fixture at roughly 60 inches AFF (an acronym used by professional electricians, contractors, and designers to mean Above Finished Floor).
Here's where homeowners get tripped up - ff you slide the table out of the way to hang the fixture (which almost everyone does, because who wants to work around a table), that 60-inch height is going to look shockingly low. You'll probably clip your forehead on it at least once before the table goes back into place. Resist the urge to raise it "just to be safe." Once the table returns to its spot underneath, that height is exactly right. It's low enough to pool warm, flattering light across the table for dining, and high enough that no one at the table is staring directly into a bulb.
One exception worth knowing - ff your chandelier is oversized relative to the table, a design technique called visual weight balancing comes into play. Hang the fixture a few inches higher than the standard range so it doesn't loom over seated guests.
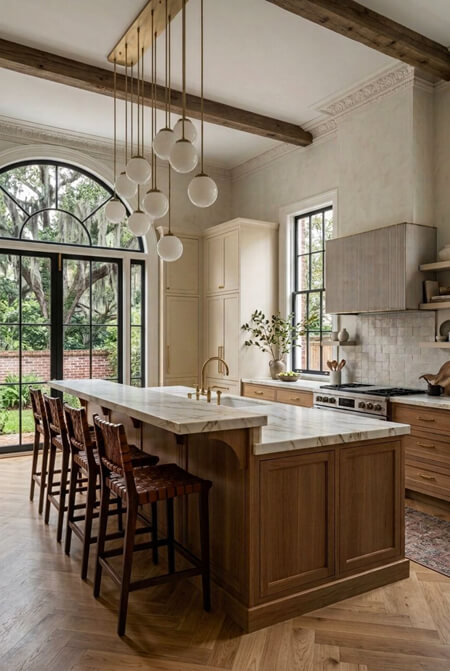 Dramatic high bar pendant light - AI-assisted image | Human-editedHigh Bar
Many people like having an elevated countertop in their kitchen to hide the dirty dishes and other messy things, which is called a high bar.
Bar seating gets its own hanging rule because the surface height is different from a standard table. The bottom of the fixture should hang 30 to 36 inches above the bar surface.
Do the math on a standard 42-inch bar countertop, and you land at 72 to 78 inches from the floor. That's a wider range than the dining table calculation, and there's a reason for that. Bar height fixtures need to clear a taller sight line since guests are typically seated on stools, not chairs, and the ceiling height in the room will nudge you toward the top or bottom of that range.
High bars can also be found in other areas of a home, such as behind a seating group in a home theater.
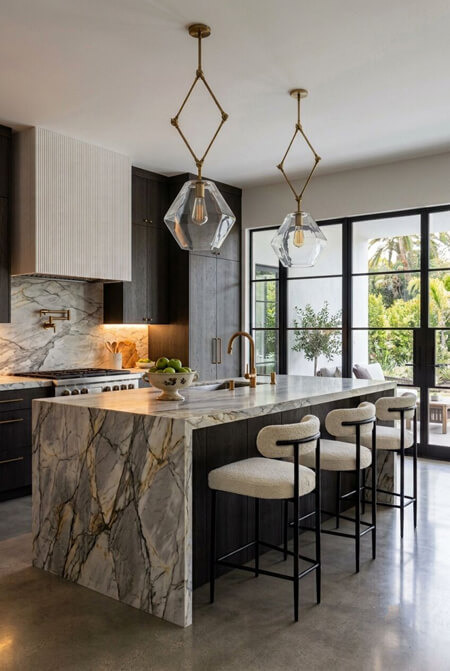 Modern kitchen with pendant lights over island - AI-assisted image | Human-editedKitchen Island
If you're hanging pendants or a linear chandelier over a kitchen island, aim for the bottom of the fixture to land around 6 feet (72 inches) from the floor.
That extra height compared to a dining table isn't arbitrary - you need to see across the island to the rest of the kitchen, and 72 inches accommodates most standing adults without anyone needing to duck. This same 6-foot rule applies if your kitchen table doubles as your island seating.
Do you or a family member run on the taller side? If so, add 2 to 3 inches to the standard height. A household with several family members over 6 feet tall may feel uncomfortable with a standard-height fixture
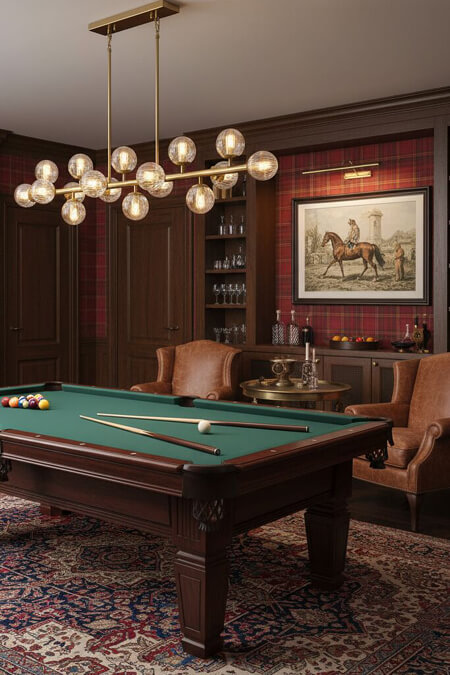 Modern billiard table light - AI-assisted image | Human-editedBilliard or Pool Table
Billiard lighting follows a tighter, more specific range than most other fixtures in your home, and there's a functional reason for that. A pool table isn't a decorative surface you glance at occasionally, it's a workspace where players are judging angles, reading the felt, and lining up shots from multiple positions around the table. If you hang the fixture too low and you're staring straight into the bulbs every time you lean over to take a shot from the head or foot of the table. If you hang it too high and you lose the tight, even pool of light that makes the felt easy to read, and shadows start creeping in around the rails. As a general guideline, aim for the bottom of the fixture to sit 32 to 36 inches above the playing surface, not the floor.
For a standard 30-inch-high pool table, that math puts your fixture between 62 and 66 inches from the floor, which is noticeably lower than most people expect the first time they measure it out. Stay within that range and you'll light the table evenly across the full playing surface without throwing glare into a player's eyes mid-shot. If your table is a nonstandard height, always measure from the actual playing surface rather than relying on the floor number alone, since even an inch or two of difference in table height will shift where that fixture needs to land. Also worth considering - the fixture should be centered directly over the table's centerline, not just hung at the correct height, or you'll end up with uneven lighting on one side of the felt.
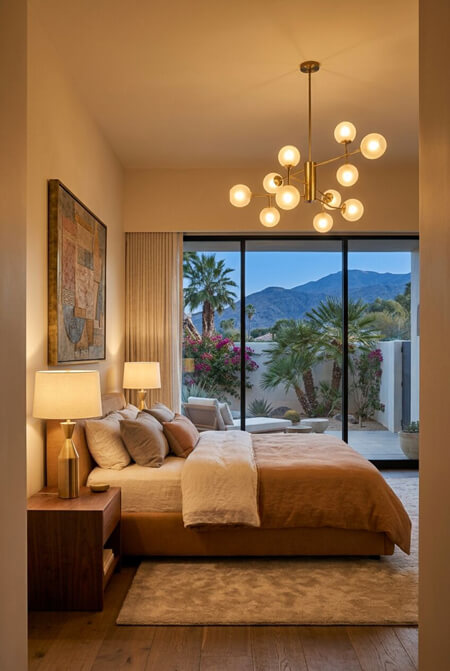 Modern bedroom chandelier = AI-assisted image | Human-editedEntryways, Stairwells, Bedrooms, and Bathrooms
Anywhere people walk underneath a pendant light or chandelier, safety takes priority over the decorative height guidelines mentioned above. The bottom of the fixture should sit at least 7 feet from the floor, but higher is often better.
You don't want people to feel like they have to duck in order to walk under your chandelier!
For standard 8-foot ceilings, mount ceiling fixtures flush to the ceiling - anything else in a room that height will eat into your headroom and make the space feel cramped rather than elevated. If your ceilings run taller, a semi-flush-mount fixture adds visual interest and layers your lighting scheme without dropping so low that it becomes a hazard in a walkway.
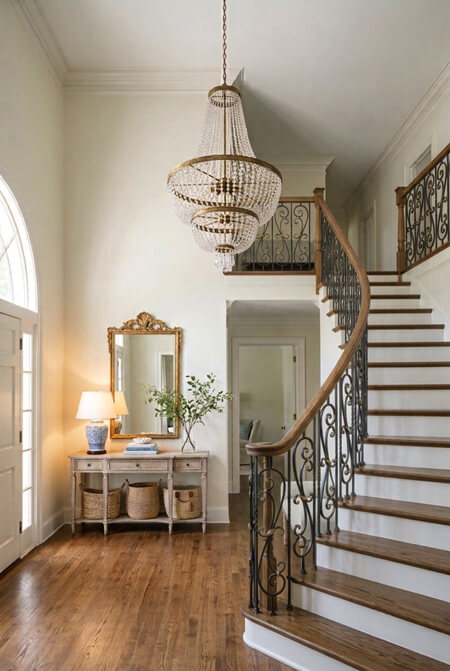 Foyer chandelier - AI-assisted image | Human-editedRooms With High Ceilings
Vaulted or double-height ceilings (18 feet or taller) call for a different approach entirely. Instead of measuring up from the floor, measure down from the ceiling. Center the fixture so it hangs 5 feet below the ceiling line.
Do you have a large picture window near the fixture? If so, center your light fixture within the window itself rather than within the wall. which is a small adjustment, but it's the difference between a chandelier that looks like an afterthought and one that reads as part of the architecture. With the light fixture centered in the window, it is an excellent focal point from outside your home.
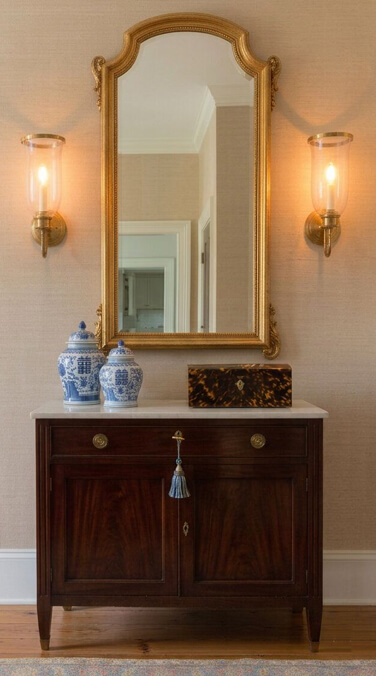 Foyer cabinet with mirror and wall sconces - AI-assisted image | Human-editedWall Sconces
Sconces installed beside a mirror or a piece of artwork should be centered on that mirror or artwork, not centered on the wall itself. This sounds like a minor distinction until you see it done wrong, and then it's the only thing you can see. Off-center sconces are one of the most common styling errors the InteriorDesignInfo.com editorial team sees in reader-submitted photos, usually because the sconces got installed based on stud location rather than the actual placement of the mirror that went up afterward. Plan your sconce placement after you know exactly where the mirror or artwork will hang, not before. Typical spacing between a mirror's edge and the edge of the sconce is around 3 to 6 inches -, close enough to feel intentional and paired, but far enough that the light isn't fighting for the same real estate as the glass. If your mirror is unusually wide, don't be afraid to widen that gap slightly so the sconces still read as flanking the mirror rather than crowding it.
In hallways and staircases, mount sconces at eye level, typically 60 to 66 inches AFF depending on ceiling height. This isn't a decorative preference, it's a safety standard. Eye-level sconces light the walking path itself, not just the upper wall, which matters most on stairs where uneven lighting can obscure a step edge.
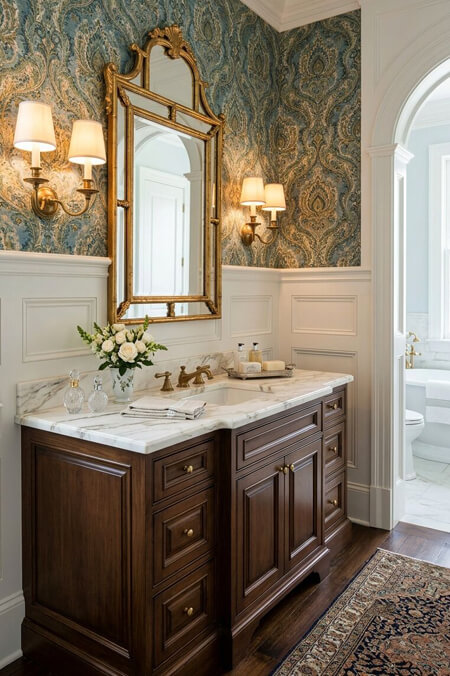 Bathroom vanity with wall sconces beside the mirror - AI-assisted image | Human-editedBathroom Vanity Lights
Install vanity lights on either side of your vanity mirror at eye level. This single change does more for your bathroom lighting than any fixture upgrade, and it's the fix most homeowners skip because it looks unconventional compared to the single strip light centered above the mirror that builders install by default.
Here's why the eye-level placement matters so much - a light mounted above the mirror casts shadows downward across the face, catching under the eyes, under the nose, and under the chin, which is unflattering under any circumstances and genuinely difficult to apply makeup, shave, or check your skin under. Side-mounted, eye-level sconces light the face evenly from both directions instead, which is the same lighting principle makeup artists and photographers rely on when they set up light on either side of a subject rather than directly overhead.
As a general guideline, mount vanity sconces so the center of the fixture lands between 60 and 65 inches AFF, roughly at the average adult's eye level, then space the pair 28 to 36 inches apart depending on the width of your mirror. Wider mirrors call for wider spacing so the light spreads evenly across the whole reflection rather than pooling in the middle.
If a full rewire to add side sconces isn't in the budget right now, plug-in wall sconces are a reasonable interim fix and typically run $40 to $120 or more per fixture, though they won't look as polished as a hardwired fixture. Either way, prioritize the eye-level placement over the fixture style itself. A budget sconce hung at the correct height will outperform an expensive fixture hung in the wrong spot every time.
 Chandelier in bathroom - AI-assisted image | Human-editedPro Designer Tips
The heights above are calibrated for an average-height household. Adjust as needed. If you have tall family members, raise fixtures by 2 to 4 inches in walkways and workspaces.
Also, think ahead to maintenance, not just installation day. If you're working with very high ceilings, consider a pulley system for your fixture. A quality pulley kit typically runs somewhere in the 150 to 400 dollar or more range depending on the fixture weight it needs to support, and it lets you lower the fixture to change bulbs without renting scaffolding or borrowing a neighbor's extension ladder.
Always check your local building code before finalizing fixture placement, especially around electrical wiring, structural support for heavier chandeliers, and clearance requirements. Codes vary by municipality, and what's standard in one city isn't automatically approved in another.
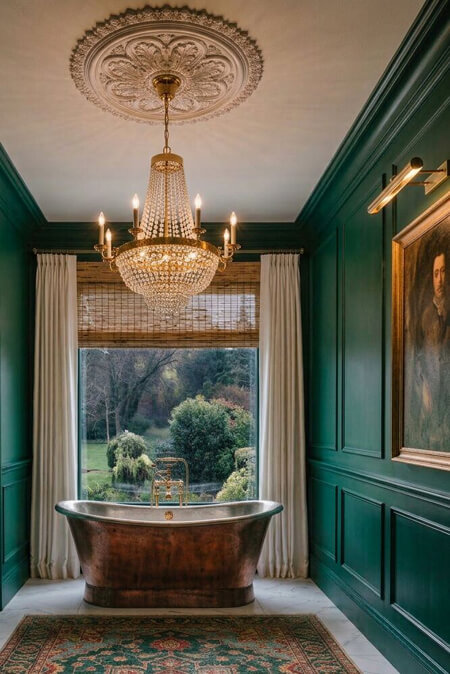
One popular request worth a caution - hanging a chandelier over a bathtub photographs beautifully, and it's all over design inspiration boards for exactly that reason. However, many local codes restrict or prohibit fixtures within a certain distance of water sources for obvious safety reasons. Do not install a fixture over a tub without checking with your local building department or a licensed electrician first, or you may find yourself removing a fixture you just paid to install.
Last tip - f your new fixture leaves the bulbs exposed and visible (common with open cage or linear styles), consider Edison bulbs #ad. The warm, vintage filament glow adds character to a fixture that might otherwise feel a little stark, and it's a low-cost way to make a builder-grade fixture look intentional.
Other Articles You Might Like....