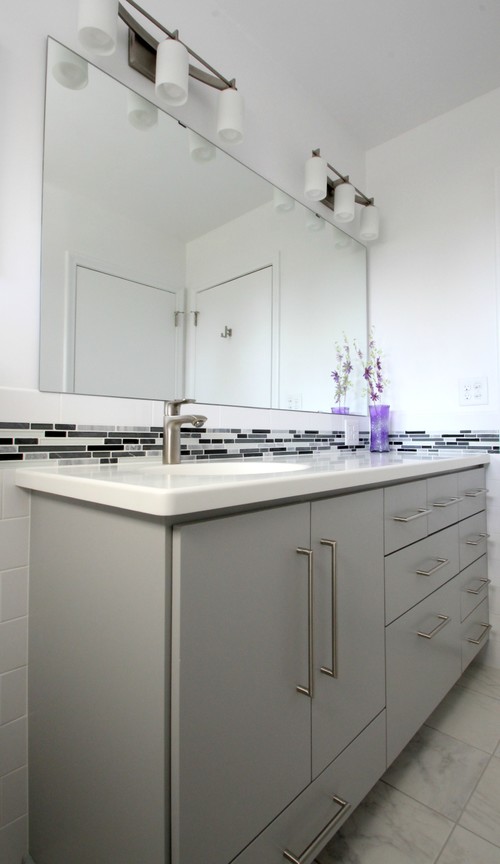
Many homes have cheap, basic, builder grade cabinets or cabinets that are stained a color that is no longer in style or that they no longer like.
If you have painted or stained kitchen or bathroom or kitchen cabinets that you would like to give a new professional-grade painted finish, follow the steps below.
 Remove Hardware
Remove all cabinet hardware, doors, and drawers.
Also remove all of the hardware attached to the base cabinets.
You may want to label the cabinets with their original location so you know where to put them back.
You can attach painter's tape to the cabinet doors and drawers and write their location on the tape.
Hardware Hole Configuration
If you are planning on using new hardware with a different hole configuration on your cabinets and drawers, fill the unnecessary holes with wood filler and drill the new holes.
Wood filler will often shrink after it has dried, so you may need to add another coat.
Sand
Sand all of the cabinets, doors, and drawers to rough up the old finish and even out any section with wood filler.
Wipe down the sanded cabinet with a tack cloth or slightly damp rag to remove all of the dust.
Let completely dry.
Painter's Tape
Using painter's tape, tape off any areas that you do not want painted, such as your backsplash, countertops, and walls.
Make sure to press hard on the tape to get a good seal.
Primer
Paint the cabinets using a quality primer following the directions on the back of the primer container.
Many people prefer to use a foam roller for a smooth finish.
For an extra smooth finish, many people like to use a paint additive #ad to help the paint settle and not have brush or roller marks.
You may need 2 coats.
Let the primer completely dry after each coat.
Some stores now offer high quality paints that have primer in them.
You may skip the priming step if using a paint and primer in one.
Sand
For the smoothest finish, sand the primer with a fine sandpaper, such as 220 grit.
Clean all the sanding dust before continuing.
Paint
Speak with the paint store representative to get the highest quality paint that you can afford.
Paint the cabinets with a gloss or semi gloss high quality paint in the color of your choice.
Use a light coat of paint and let the coat completely dry.
Use 2 or 3 coats of paint for professional results.
Lightly sand between coats to get the smoothest finish. Clean up sanding dust before the next coat.
Try to avoid leaving brush marks by using long brush strokes.
Top Coat
Add a transparent top coat to your cabinets to reduce the chances of chipping, scratching, and wear.
You can use spar urethane, polyurethane, polycrylic, or a waterborne acrylic.
Reassemble
Make sure to let the cabinet completely dry before putting the hardware back on or reassembling the doors and drawers.
Drying time may be anywhere from 24 hours to 1 week, depending on your weather conditions and the type of paint you used.


