If you have a wrought iron bed, fence, railing, patio furniture, home accessory, or other piece that needs a fresh coat of paint or an updated color, here are the steps for how to paint wrought iron.
 photo courtesy of Quadrireme flickr.com/photos/33324850@N08/3108585354/
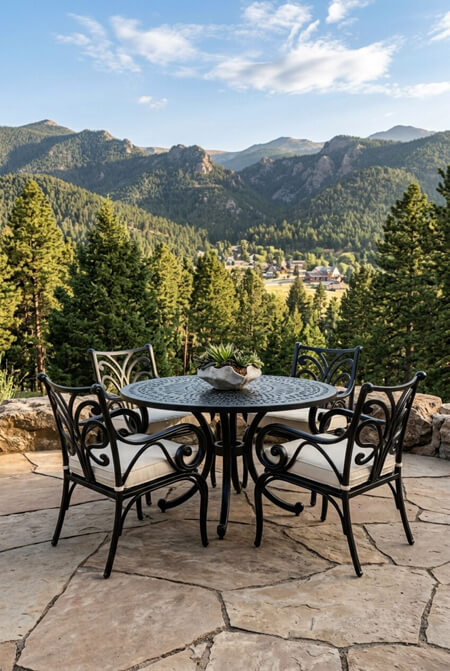 Wrought iron outdoor table - AI-assisted image | Human-editedClean
Before painting, make sure to clean your wrought iron to remove any dirt, dust, cobwebs, and other debris that you do not want to get stuck in your paint job.
If you are working outside, you can spray down your wrought iron using a garden hose with a sprayer attachment. Make sure to dry it thoroughly after using water.
You might need to wipe down your wrought iron with an old towel and dish soap if it is dirty and not just dusty.
Every spec of dust on your item will be permanently stuck to your item after you paint it, so ensure that you remove it all so you can get a nice smooth paint job.
 Ornate wrought iron bed - AI-assisted image | Human-editedRepair
Examine all of the parts of your wrought iron (including the back and the under side) for rust, damage, and peeling paint.
Using a wire brush or flat head screwdriver, clean all of the rust off of your wrought iron and remove any flaking paint.
If you have more extensive damage, you can repair it with epoxy for metal surfaces or bring it to a welder to have it professionally repaired.
Make sure to tighten any fasteners, such as screws and bolts, so your wrought iron piece is nice and sturdy (if you need to paint your wrought iron disassembled, you can do this step after it has fully cured).
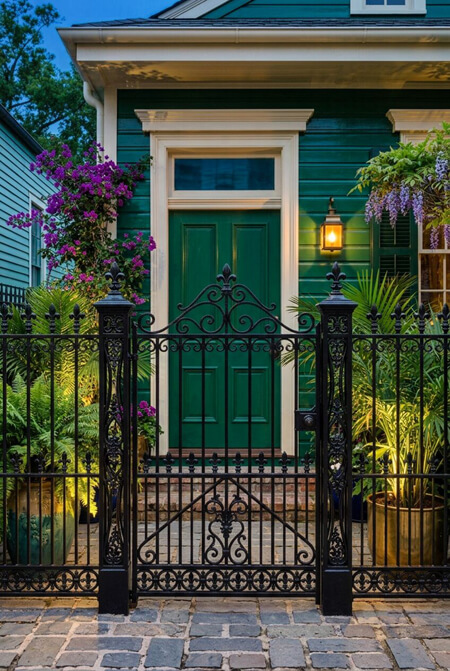 Ornate wrought iron gate - AI-assisted image | Human-editedSand
The next step is to sand your entire piece of wrought iron to rough up the existing paint which allows a rough surface for the new paint to adhere properly.
If your wrought iron is in good condition, you can use a small grit sandpaper to rough up the surface a bit without creating noticeable texture change. If your wrough iron is not in as good of a condition, start by sanding with a larger grit sandpaper then sand again with a smaller grit sandpaper.
A professional tip is to take extra care to sand extremely well areas that might get rubbed or touched regularly, such as the arm of a chair.
Also make sure to smooth any transitions from places where paint has flaked off or damage was repaired using a medium grit sandpaper then go over it again with a fine grit sandpaper.
Clean Again
Wipe down your wrought iron to remove any sanding dust. You may also want to use your garden hose again or a tack cloth.
Make sure your wrought iron is completely dry before proceeding.
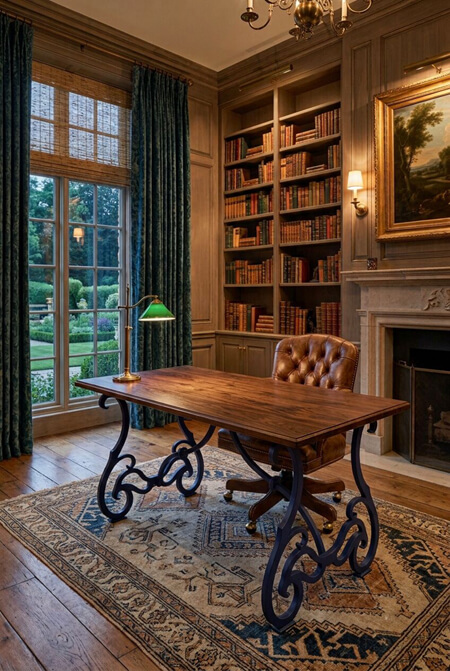 Wrought iron desk with wood top - AI-assisted image | Human-editedRust Inhibiting Metal Primer
Using a primer before your final coat of paint is a good idea to help the paint bond better. If your wrought iron is used outside or is showing signs of rust, use specially formulated primer for metal that is rust inhibiting #ad.
Your primer can be sprayed, rolled (using a standard roller or mini roller), or brushed on.
Make sure to cover any surrounding items that you do not want painted if you use spray paint. Spray paint tends to travel farther than you might expect, so you might want to cover more than what you think you will need.
Follow the manufacturer's instructions for dry time before applying a second coat of primer.
 Wrouht iron outdoor living room furniture - AI-assisted image | Human-editedPaint
After the primer has fully dried, apply a DTM (direct to metal) paint #ad made especially for painting metal.
Make sure to research to ensure that your spray paint is appropriate for your application - interior or exterior location.
For the best results, use 2 or more coats of paint, especially if your wrought iron will be outside.
Make sure to follow the manufacturer's directions for how long to wait between applying additional coats of paint to create a solid foundation.
Also allow the paint to properly cure before using it. Curing might take days while drying to the touch might take hours.
Other Articles You Might Like....
How to Paint Wood Furniture or Cabinets in a Vintage or Antiqued Style